
Wikipedia’s entry on rangoli notes that because the art takes time, it is mostly reserved for festivals and celebrations, with Diwali the occasion on which it is made most often. For a first-timer, that creates pressure: you have one chance a year to get it right, on a day when guests are arriving and the lamps need lighting.
This guide takes the pressure off with easy Diwali rangoli designs for beginners, each with a step-by-step method: simple diya, flower, dot and free-hand patterns, a materials list, common mistakes and fixes, tips for doing rangoli with children and the safety rules for diyas. Diwali falls on Sunday, November 8, 2026, according to Dekho Panchang, so you have time to practise.
Easy Diwali Rangoli Designs: What You Need Before You Start
The best easy rangoli designs depend on good preparation. Clean the floor, let it dry and gather your materials before you draw anything. A small kit handles most beginner designs.
| Item | Why you need it | Beginner tip |
|---|---|---|
| Chalk | To plan the design | Draw lightly so you can erase mistakes |
| White rice flour or chalk powder | To trace outlines | Hold between thumb and forefinger and let it flow |
| Coloured powders | To fill the shapes | Use three colours at most |
| Small bowls or cups | To keep colours separate | Label by colour |
| Stencil or cone | For neat lines | A bought stencil is fine |
| Soft brush | For clean-up | Use a dry brush |
| Diyas | For light | Add them last |
Easy Rangoli Design 1: The Simple Diya
This is the easiest rangoli of all, and it fits any space. It needs one shape, one fill and a flame.
| Step | What to do |
|---|---|
| 1 | Mark the centre with chalk |
| 2 | Draw a wide, shallow bowl shape, like a boat, around the centre |
| 3 | Trace the outline in white flour |
| 4 | Fill the bowl with red or orange powder |
| 5 | Draw a teardrop flame above it and fill with yellow |
| 6 | Add a ring of dots around the diya |
The finished rangoli takes about 20 minutes. Place a real diya on the flame once you are ready to light it.
Easy Rangoli Design 2: A Five-Petal Flower
A flower is the next step up, because it teaches you to repeat a shape evenly. Use a small bowl or lid to draw the centre circle.
| Step | What to do |
|---|---|
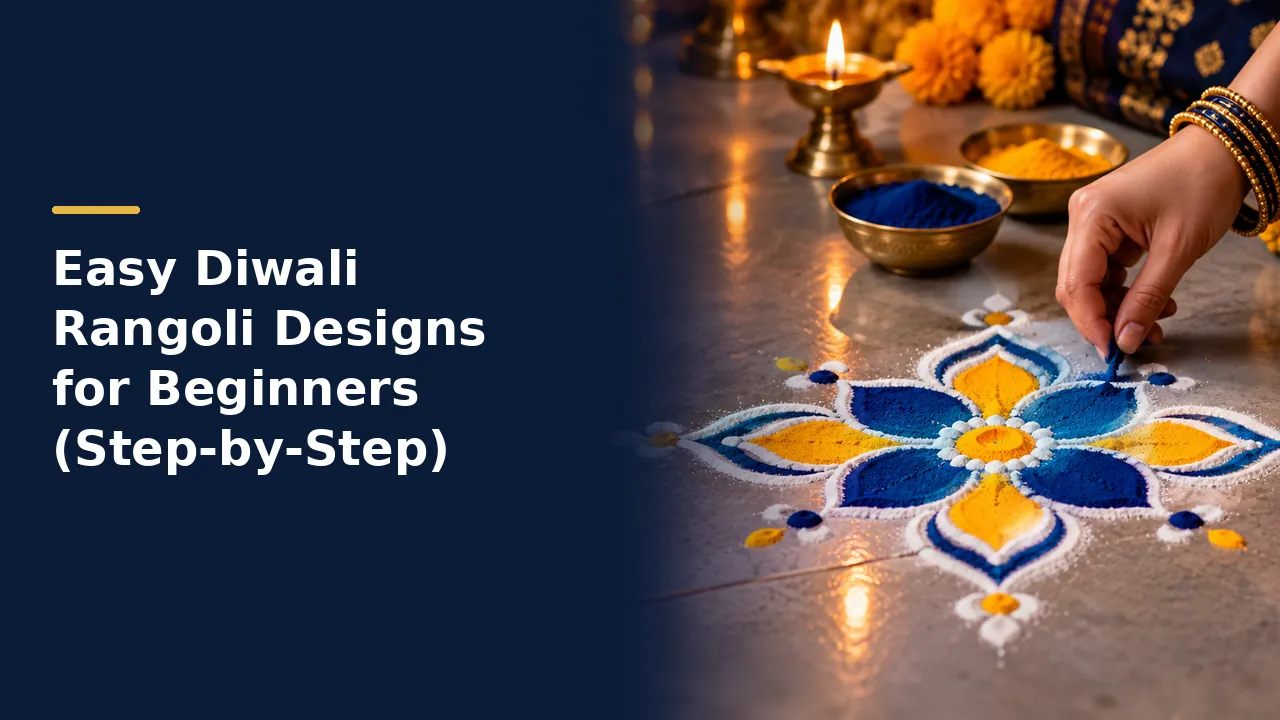
| 1 | Draw a small circle for the flower centre |
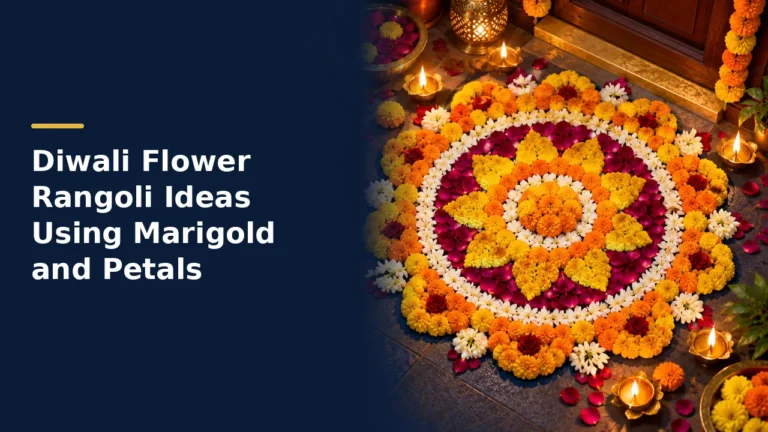
| 2 | Draw five equal petals around it, like rounded teardrops |
| 3 | Trace everything in white powder |
| 4 | Fill the petals with pink or orange, and the centre with yellow |
| 5 | Add small green leaves between the petals |
| 6 | Finish with a ring of dots around the outside |
To keep the petals even, mark five points around the circle like the hours on a clock before you draw them.
Easy Rangoli Design 3: A Dot Rangoli for Beginners
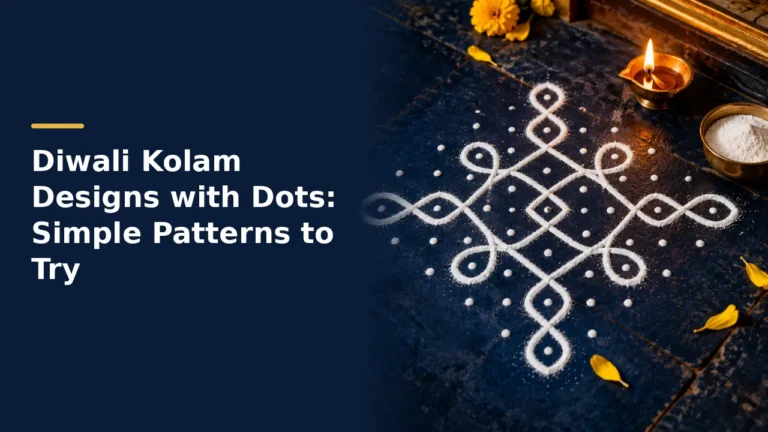
Dots make symmetry easy. Wikipedia notes that rangoli grids are commonly square in North India, and that the basic method starts with a centre point and cardinal points. A 5 by 5 square grid is a good first try.
| Step | What to do |
|---|---|
| 1 | Place a 5 by 5 grid of dots with equal spacing, using chalk or flour |
| 2 | Join dots in the centre row with a curved line, looping around each dot |
| 3 | Repeat in the other rows to form a flower or star |
| 4 | Trace the pattern in white |
| 5 | Fill alternate sections with two colours |
| 6 | Add a border of tiny dots or a thin line |
Spacing matters most. Use your finger width as a guide, or draw the grid with a ruler first.
Easy Rangoli Design 4: A Free-Hand Lotus
A lotus is a classic Diwali motif. It is easy to draw free-hand once you use a circle and a few arcs.
| Step | What to do |
|---|---|
| 1 | Draw a small circle for the centre |
| 2 | Draw eight pointed petals around it, like a star |
| 3 | Add a second layer of eight petals behind the first, shifted between them |
| 4 | Trace in white, then fill the inner petals in pink and the outer in light pink or white |
| 5 | Colour the centre in yellow |
| 6 | Add green leaves at the sides |
Easy Rangoli Design 5: Lakshmi Footprints and Welcome Mats
Footprints are among the easiest and most meaningful designs. Draw a pair of small footprints pointing into the home, with a few dots for toes and a lotus or a diya beside them. Rangoli is meant to welcome Lakshmi, according to Wikipedia, so the footprints suit a doorway.
Use white or red powder for the print, and fill a small circle or oval border around it. This takes about ten minutes.
Beginner Mistakes and Quick Fixes
Almost every beginner makes the same mistakes, and all of them are easy to fix.
| Mistake | Why it happens | Fix |
|---|---|---|
| Uneven petals | No guide marks | Mark equal points before drawing |
| Messy lines | Too much powder | Use a cone, stencil or finger and release slowly |
| Colours mixing | Brushing against neighbours | Fill from the centre outward and tap powder off the edge |
| Design too big | No plan | Mark the outer edge in chalk first |
| Lopsided circle | Free-hand drawing | Trace around a lid or bowl |
| Powder blown away | Wind | Dampen the floor lightly or work inside a doorway |
Rangoli With Children
Children enjoy rangoli, and it is a good way to introduce them to the festival. Let them choose colours, fill shapes and place petals, while you handle outlines and diyas. Use small bowls of colour and give each child a section of the design. Avoid putting powder near eyes or mouths, and wash hands afterwards.
Safety Tips for Diyas and Powders
South Yorkshire Fire and Rescue advises placing diyas, tea lights and candles on heat-resistant surfaces and well away from curtains and decorations, and supervising children and pets at all times near flames. Keep loose clothing and flowing fabric away from lit lamps, and keep flower petals and powders at a safe distance from the flame.
Fine powders can irritate eyes and noses, so work in a ventilated space and avoid blowing powder. Sweep it up when you finish instead of washing large amounts down a drain.
A Practice Plan Before Diwali
Give yourself three short sessions. Practise one design on paper with a pencil, repeat it on a board with chalk and flour, then make a full-size version on the floor. By the third try, most beginners can complete a simple design in 20 minutes.
| Session | Goal | Time |
|---|---|---|
| 1 | Draw the design on paper | 10 minutes |
| 2 | Make a small version on a board | 20 minutes |
| 3 | Make the full-size version at the entrance | 30 minutes |