
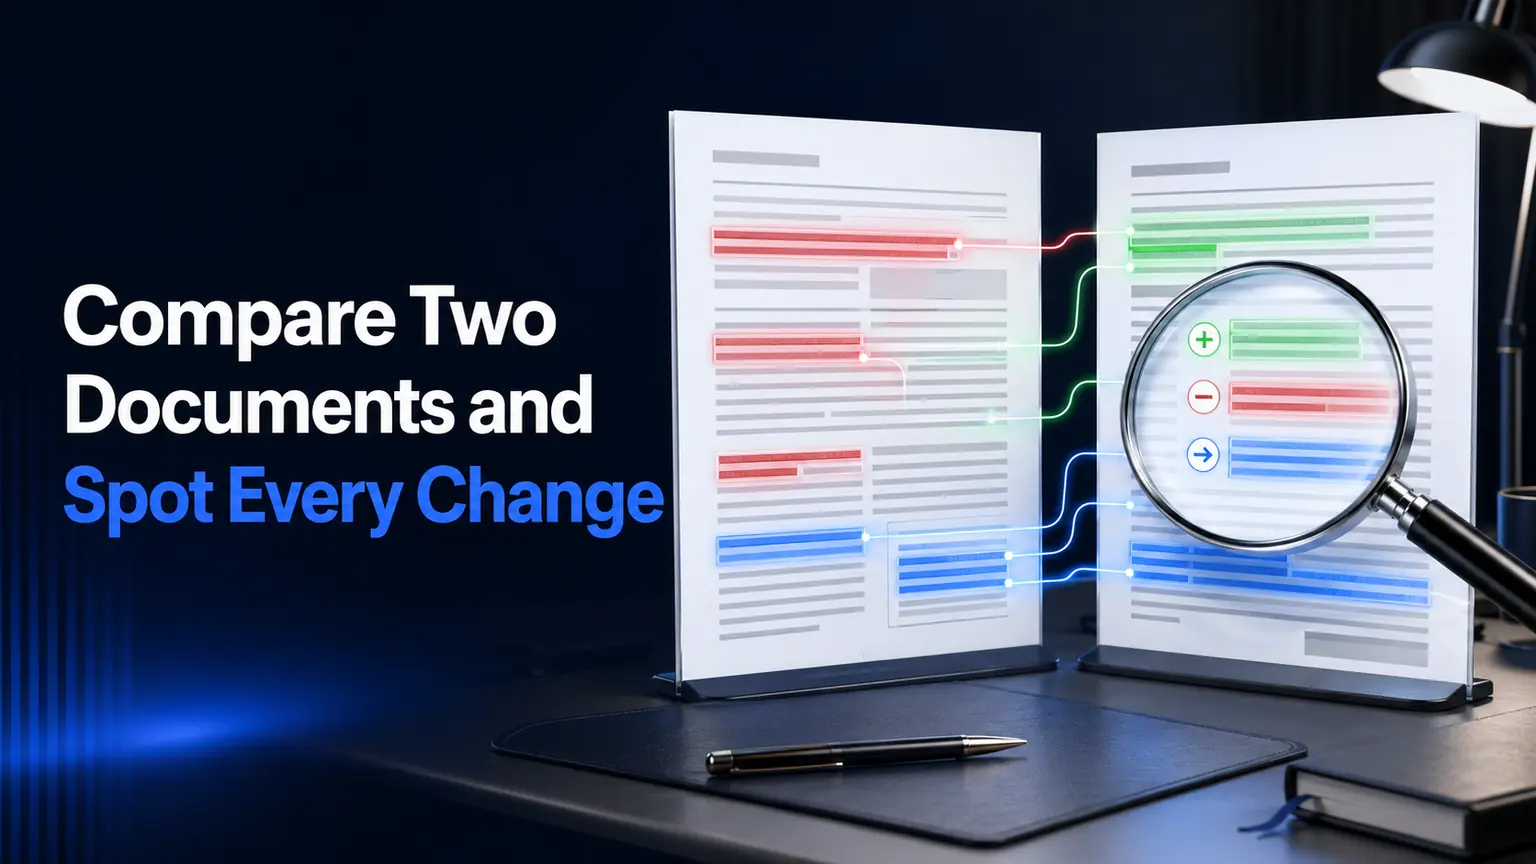
Comparing two documents thoroughly requires more than simply pasting text into a tool and glancing at the result. This walkthrough covers the specific steps that ensure a comparison actually catches every genuine change using a free text compare, including a few common formatting quirks that can otherwise cause a comparison to miss or misreport a difference.
Step 1: Prepare Both Versions Consistently
Before comparing, ensure both document versions are in the same plain-text format, removing any inconsistent formatting artifacts, extra line breaks, differing font styling carried over from a source document, that could cause a comparison tool to flag a formatting difference rather than a genuine content change.
Step 2: Paste Both Versions Into a Comparison Tool
Pasting the original and revised versions into a free text compare tool generates an immediate, highlighted comparison showing every specific addition, deletion, and modification between the two versions side by side.
Step 3: Choose the Right Comparison Granularity
Selecting a word-level comparison view for general prose review, versus a character-level view for precision-sensitive content like URLs, code snippets, or numerical data, ensures the comparison surfaces changes at the level of detail actually relevant to what you are reviewing.
| Step | What It Ensures | Common Mistake to Avoid |
| Format both versions consistently | Only genuine content changes get flagged | Skipping this causes false formatting differences |
| Choose the right granularity | Changes surface at the relevant detail level | Using word-level view for code, missing single-character bugs |
| Review flagged changes individually | Every change gets a genuine editorial decision | Skimming past flagged changes without review |
| Re-run after final edits | Confirms the final version is genuinely clean | Assuming the first pass caught everything |
Step 4: Review Every Flagged Change Individually
Working through each highlighted change one at a time, deciding whether it represents an intentional, approved edit or an accidental, unintended change, ensures nothing gets rubber-stamped simply because the overall document looks similar to its previous version at a glance.
Step 5: Clean Up Before Finalizing
Running the final, approved version through a remove duplicate words tool catches any accidental repetition introduced during the editing process itself, a genuinely common byproduct of revising a document across multiple editing rounds.
Step 6: Confirm Final Length and Re-Compare if Needed
Checking the finished document’s length with a word counter confirms it still meets any required length target, and running one final comparison pass after any last-minute edits ensures the version you actually publish or send matches what you believe was approved.
Every tool referenced throughout this walkthrough is available through WritoryBuzz’s free document review tools, accessible any time from the same tools page.